The EVGA X299 FTW K Motherboard Review: Dual U.2 Ports
by Joe Shields on January 29, 2018 8:45 AM EST- Posted in
- Motherboards
- Intel
- Killer
- EVGA
- X299
- Basin Falls
- Skylake-X
- Kaby Lake-X
BIOS
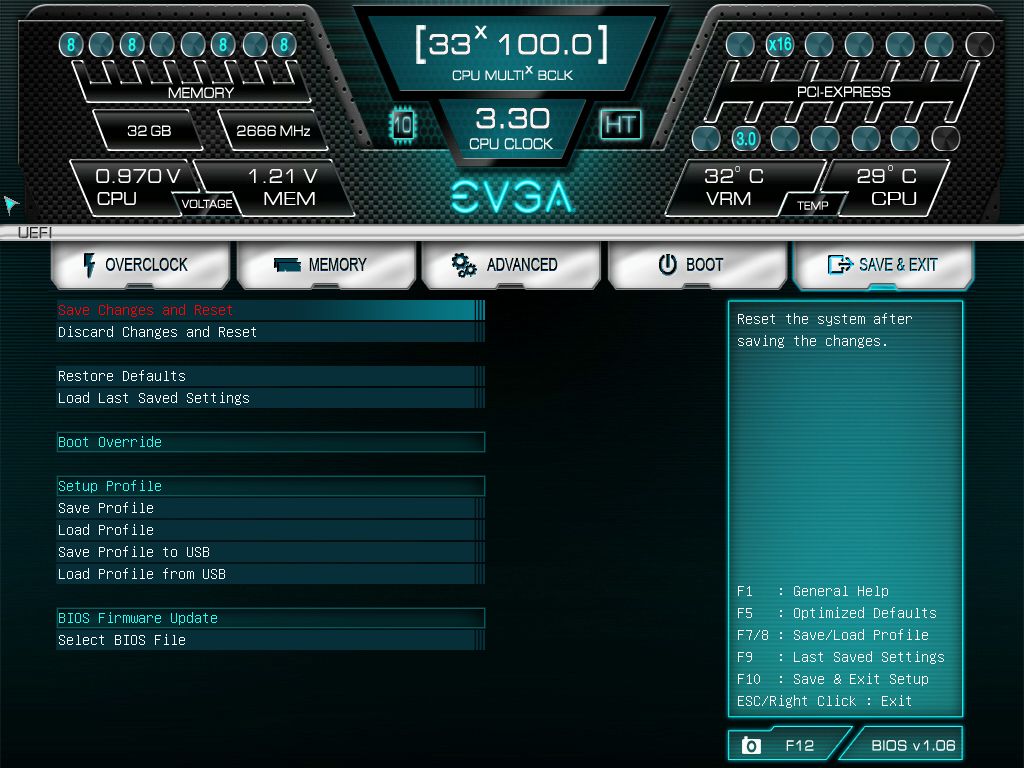
The EVGA BIOS screens have a black background sea blue accents and white writing which is a good set of contrasting colors and allows for an easy read of the information.
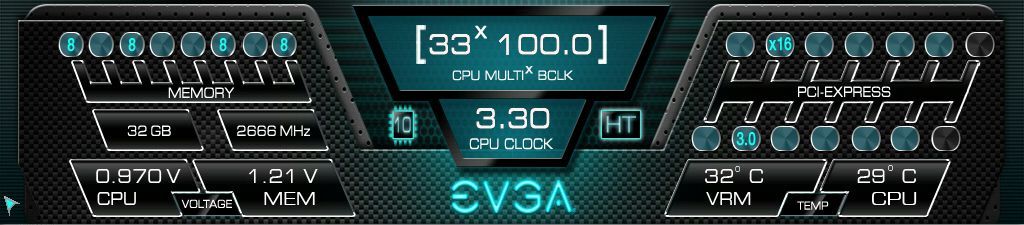
The top portion is essentially a summary of what is currently going on in the system while the bottom part is business end where adjustments can be made. The left top portion shows which DRAM slots are populated and both their individual capacity as well as the total capacity of the system and current speed. Below those values, the CPU and Memory voltage is displayed. The middle portion shows the current state of the CPU in regards to clockspeed and the number of active cores. The right side shows a summary of the PCIe lanes and their current bandwidth state while below that are the temperatures of the VRM and CPU. For reference, we are using the latest BIOS available at the EVGA website, version 1.06.

The magic happens in the bottom 2/3 of the BIOS screen where across the top of that we see five sections; Overclock, Memory, Advanced, Boot, and Save & Exit. The EVGA BIOS, as we will see in this section, is fairly simple and straightforward. The first thing one may notice compared to other X299 boards is the lack of an 'EZ Mode' screen; users will jump right into the Overclock tab in this case.
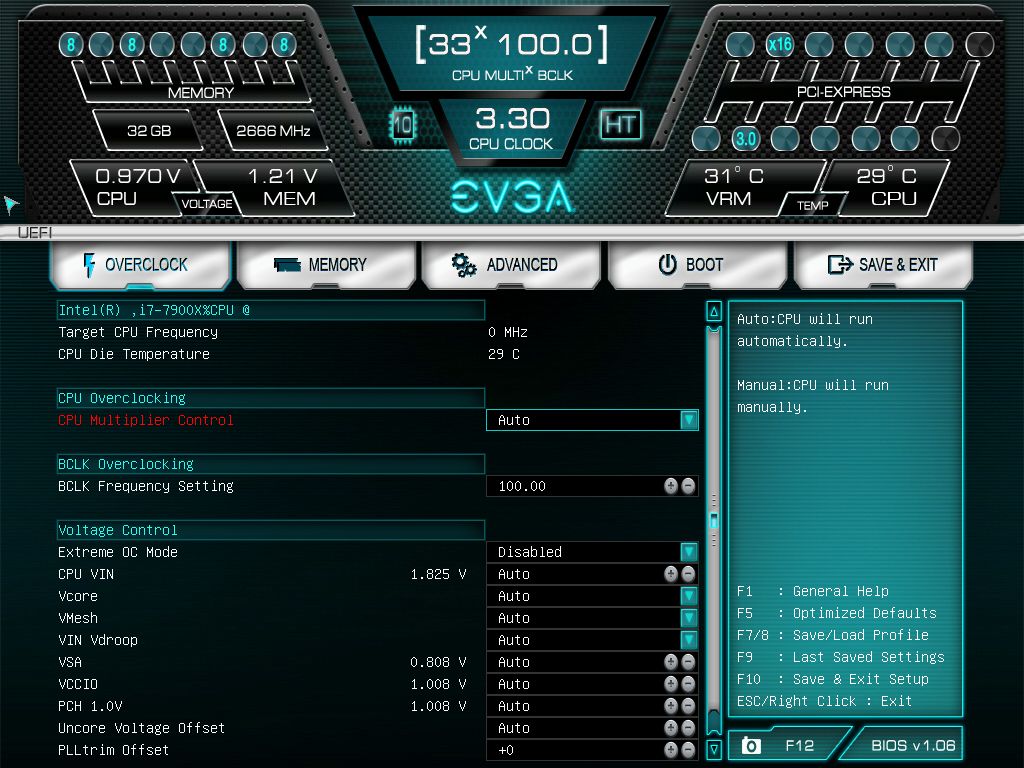
The Overclock section presents users with many options associated with overclocking and getting the system beyond its normal specifications. Things like CPU Multiplier Control, BCLK Frequency settings, and several voltage domains are found in here. It really has much of what one needs to overclock the CPU right on this screen. What is missing is LLC adjustments as well as any pre-configured multi-core enhancement. Neither are a big deal in the overall scheme of things, but they are certainly not there. Also notably missing is any sort of power limit adjustments. In many boards, there are power limits in place to keep the process functioning within its parameters and this can limit overclocking capabilities. A simple adjustment to those parameters and users are on their way. On the FTW K, there doesn't seem to be an option to adjust the limits that I have run into yet. These are curious omissions, however, the board doesn't seem to blink an eye without them in our testing.
The other curious implementation on this motherboard is when switching to manual mode (Per Core or RatioLimit), it automatically sets up a negative AVX and AVX2 offset of 3. Typically, this is something users change themselves if needed. If not changed, this will result in slightly slower performance on AVX based tasks.
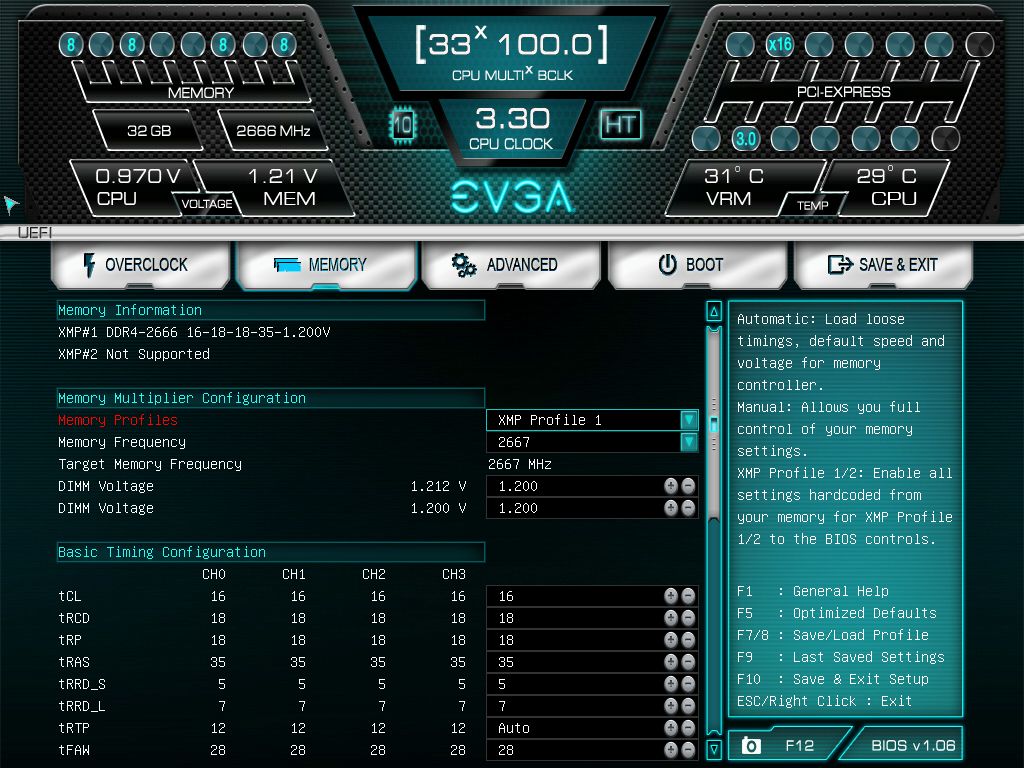
The Memory tab is where all the memory options reside. Here is where the user will set XMP profiles, or manually set memory speed and timings. I do like how they added the XMP profiles to the memory information as some DRAM sets do come with two XMP profiles so it easier to see which one you want and select it. The supported memory speeds on the FTW K are the lowest we have seen on an X299 board so far at DDR4-3200. It does have memory multiplier settings up to 4400, but I was only able to test to DDR4-3600 with the set of DRAM used. Both sets of sticks worked just fine using the XMP profile at DDR4-2666 and DDR4-3200.
The Advanced screen is where adjustments to the CPU (EIST/C-States/Turbo/etc), CPU Storage (CPU attached storage such as PCIe, one M.2 slot, and the U.2 slots), PCIe (bandwidth adjustments), PCH, SATA (enable/disable), and USB configurations can be edited. The Power Management section feels like a tease and has adjustments for enabling/disabling LEDs, ERP mode for EU standard energy efficiency, and sleep states. Again, no power limits or LLC found. The Onboard Device configuration section is where users can enable/disable the LAN, Audio, USB 3.1 Controller, as well as U.2 and M.2 sockets.

The H/W monitor configuration section is where users will find system temperatures such as the powe delivery, motherboard, and the CPU temperature. It also displays voltages from the power supply like the +12V, +5V, and 3VSB. This is also where the user can adjust fan speeds. There are options such as SMART and Max as well as percent values for fine control, although there isn't a manual graph that can be adjusted with curve points. The two CPU fan headers are PWM only while the five chassis/system fans are able to do both PWM and DC control. We do not have the ability to create custom curves.
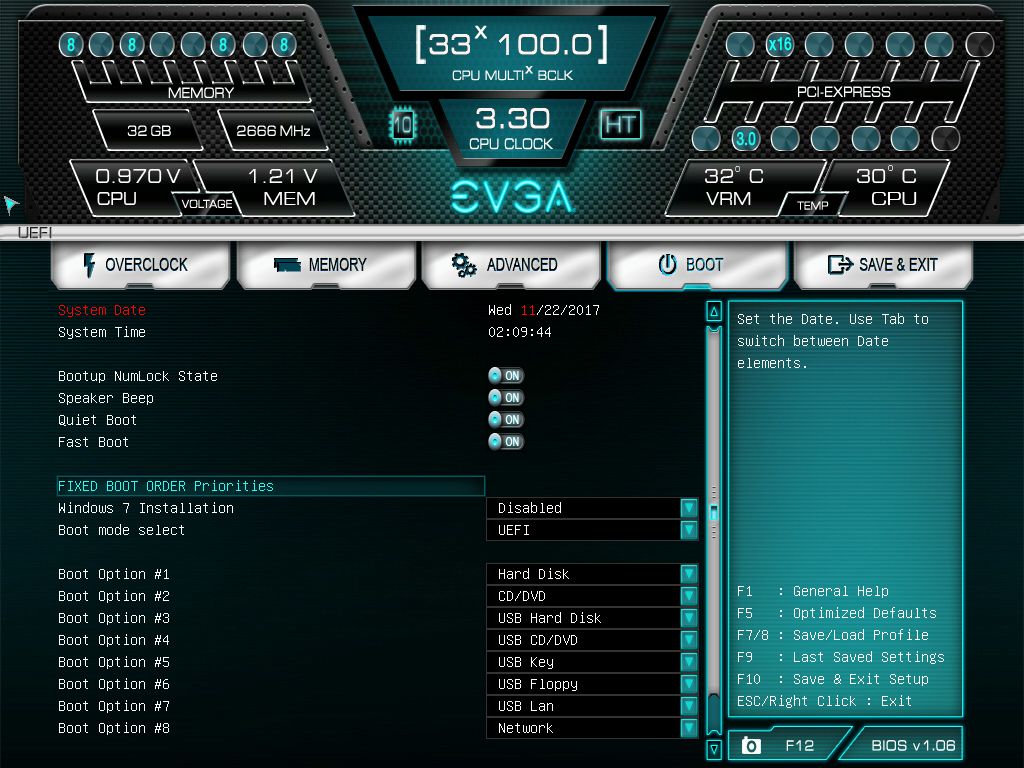
The Boot section is where any boot-related functionality can be adjusted.
Last is the Save & Exit tab where we are able to restore defaults or load the last saved settings. Also in this section is where users are able to save BIOS profiles internally or to a USB stick as well as updating the BIOS.
Overall the EVGA FTW K BIOS worked fine. There were really only a couple of complaints. First was the missing overclock options: while not a huge deal, it didn't stop me from reaching our temperature limited overclock of 4.5 GHz, but they are still options found on nearly every board. The other issue I had was with the system not loading from a cold boot. It would start to POST, beep a couple of times, then give 5 long beeps and hang or occasionally it would even boot after the five long beeps. This happened with both the 1.01 BIOS it shipped with as well as the 1.06 BIOS we used from the website.


Software
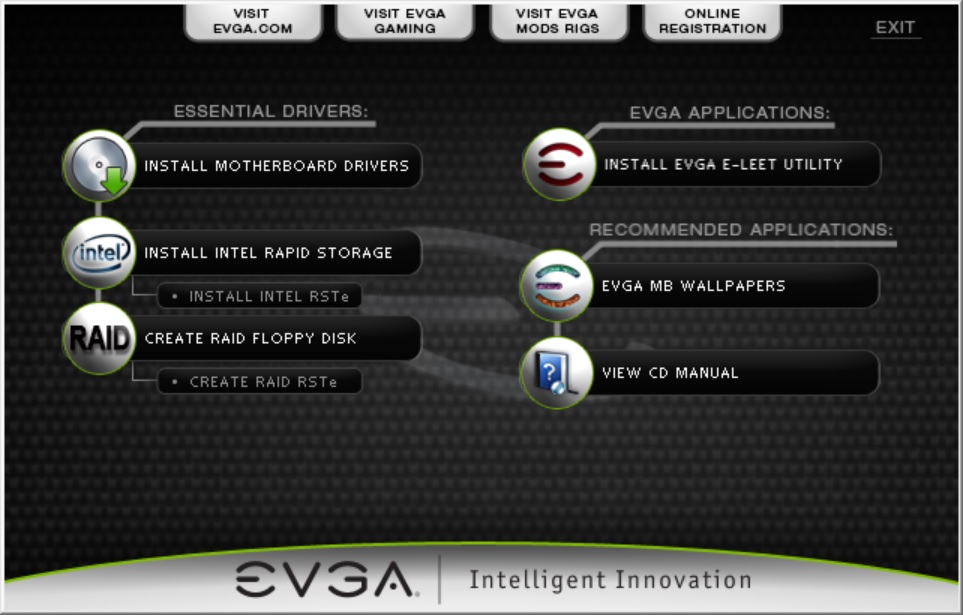
The DVD contains all the drivers needs to get up and going, as well as the E-Leet utility. Installing the motherboard drivers worked without issue. One thing not found in EVGA's software suite that others have is an automatic update program. Users will have to periodically check for updates to the system.
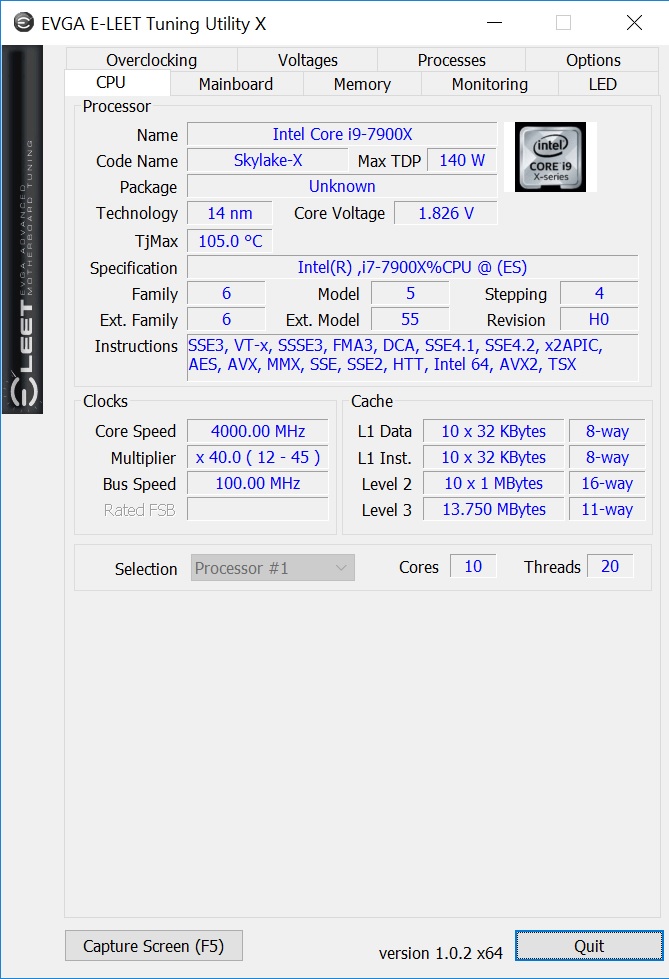
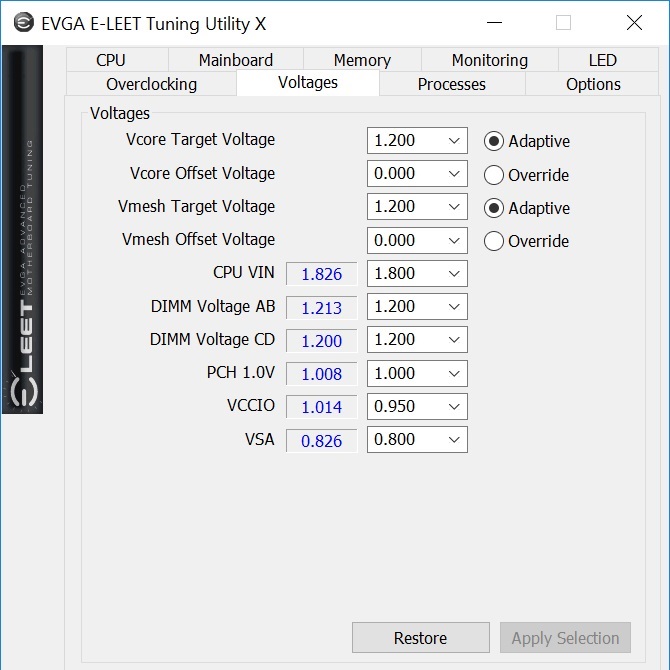
The EVGA E-Leet Tuning Utility X is a windows based utility for Monitoring and Overclocking. In recent iterations, it also can now be used to change the onboard LED effects. The first three screens, CPU, Mainboard, and Memory should all be familiar as they are more or less a CPU-Z twin displaying information for each part.
The LED section (in the gallery) was a bit lackluster allowing a total of four adjustments; Static On, Static OFF, Breathing, and Rainbow. I would like to see more options than that if only to keep up with the other board partners which tend to have several more preset LED functions.
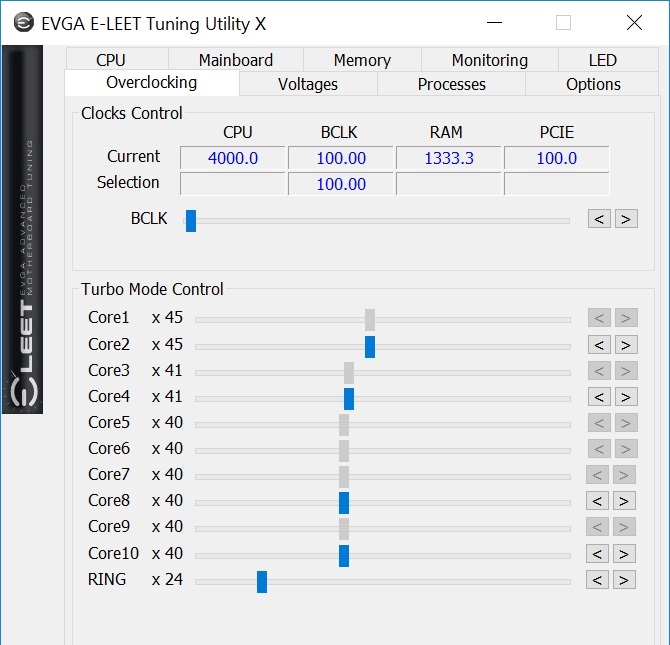
The overclocking and voltage sections allow for adjusting major voltages, CPU multiplier, RING, and BCLK within Windows. Depending on how the user has it set in the BIOS, this determines which cores are able to be adjusted from the Intel spec to a per core ratio where all are adjustable, to Ratio Limit where one slider controls all.
The E-LEET utility worked flawlessly until I set the RAM speed manually at DDR4-3600. Once that happened, I was unable to apply voltage without the system freezing requiring a hard reboot. The system was plenty stable if I set the voltage and speed through the BIOS but would just hard freeze if I tried while using a manual multiplier.
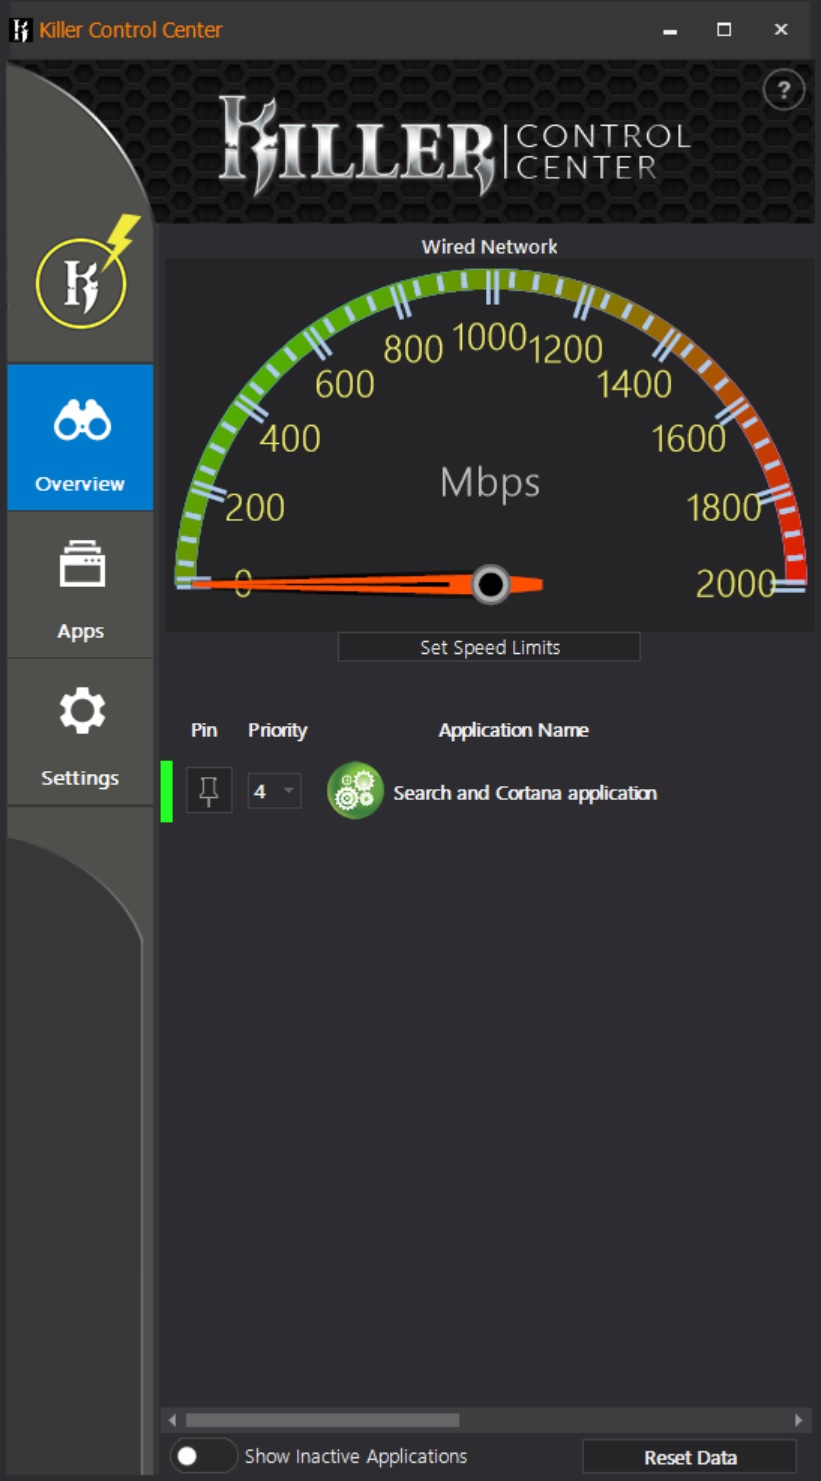
The EVGA FTW K comes with two NICs: the Intel I219-V and the Killer E2500. The Killer NIC comes with its own software for monitoring traffic as well as the ability to prioritize traffic in applications. This is an updated software stack from previous generations of motherboards that used older controllers, designed to be more user friendly and allow the user to combine downloads with gameplay and streaming by having traffic configured by priority with a whitelist autodetect feature.


23 Comments
View All Comments
EricZBA - Monday, January 29, 2018 - link
1. It would have been nice to get an explanation in the first page of what the heck a U.2 port is2. Motherboard / CPU are swapped in the "Manual overclocking results" graph on page 1
Joe Shields - Monday, January 29, 2018 - link
Eric,Sorry about that. Here you go: https://en.wikipedia.org/wiki/U.2
Thanks for the correction on the results.
JackNSally - Monday, January 29, 2018 - link
Can you test with a better CPU cooler? All of your X299 overclocking results are thermally limited. This doesn't show the board limits, just the coolers limits.Joe Shields - Monday, January 29, 2018 - link
I see what you are saying. Do understand however, in the vast majority of cases, users will be thermally limited by the CPU before the board regardless.The problem comes with how effective, or not, adding more radiator really is considering how effective the interior TIM is. The test CPU (the new one) was still thermally limited with a 3x120 custom loop (CPU only) and a better block (Kryos NEXT). IIRC, I was able to run around 100 more MHz out of that than the Corsair AIO used in the test system. In order to reap those benefits fully, we would need to delid the CPU and go a lot bigger on the radiator before most boards would stop the overclock. With delidding, we are really getting into a world where not many users would do it unless they are benching competitively which these would not be the weapon of choice in the first place. These are '24/7' overclocks with reasonable cooling solutions and warrantied CPUs.
bug77 - Tuesday, January 30, 2018 - link
Maybe add a paragraph summarizing all that to reviews, then?oRAirwolf - Tuesday, January 30, 2018 - link
USB type C motherboard headers should be standard equipment by now. I don't know why they would put 2 U.2 connectors on this motherboard but not a single USB type C header.My last motherboard was an EVGA x99 FTW K and it was a really nice motherboard. I liked the layout and the 2 slot spacing between GPUs. I am using an asrock z370 professional gaming i7 now and it only has single slot spacing between GPUs. There was definitely a noticeable increase in temperature going from 2 slot spacing to 1 slot spacing with SLI 1080 TI's. About 5-10 C. My only complaint with the x99 FTW K, besides using Killer networking, was that EVGA basically makes no motherboard software. While it doesn't see a lot of use, I like having utilities like fan curve and overclocking control. I know I can use things like speed fan and Intel extreme tuning utility...and I did, however, I was a bit let down by EVGAs lack of in house software.
Xajel - Tuesday, January 30, 2018 - link
U.2 is crap, while it's good for NVMe 2.5" SSD drives (well, it's the only solution now). but I really hate how bulky it is, and the fact that the drive still need dedicated power pins.For any new technology for 2.5" & 3.5" SSD's ( SATA or NVMe ) I wish the cable to be small, compact, not so thick or hard cables, preferably reversible and can carry a minimum amount of power so a regular SSD can be powered also by the same cable. any more advance drive can have a separate power.
Drazick - Tuesday, January 30, 2018 - link
At last real support for 2.5" drives with NVME.The M.2 solution is good for laptops.
For desktop we need something better with less heat issues.
drajitshnew - Tuesday, January 30, 2018 - link
Hi, could you please highlight the point at which an extra long screw is required. Also, list the specification of the required screw.Also , from the photographs is seems that the heat pipe from the power delivery is impinging on the 1 st memory slot. Could add a photo to clarify that?
drajitshnew - Tuesday, January 30, 2018 - link
hi, it seems with the listed config for the 44 lane CPU it requires 60 lanes?!x16/x8/x8/x16=48 lanes and m2=4+ 2*U2=8, Could you clarify that?