Top Tier CPU Air Coolers Q3 2015: 9-Way Roundup Review
by E. Fylladitakis on July 6, 2015 8:00 AM ESTThe Cryorig R1 Ultimate
Cryorig is a company that popped literally out of nowhere in 2013. They claim to be a company founded by experts with previous experience at other well-known companies, who banded together to both make a name for themselves and to offer "the best of all worlds". The R1 Ultimate that we have here today is the largest, most powerful cooler that they currently manufacture.
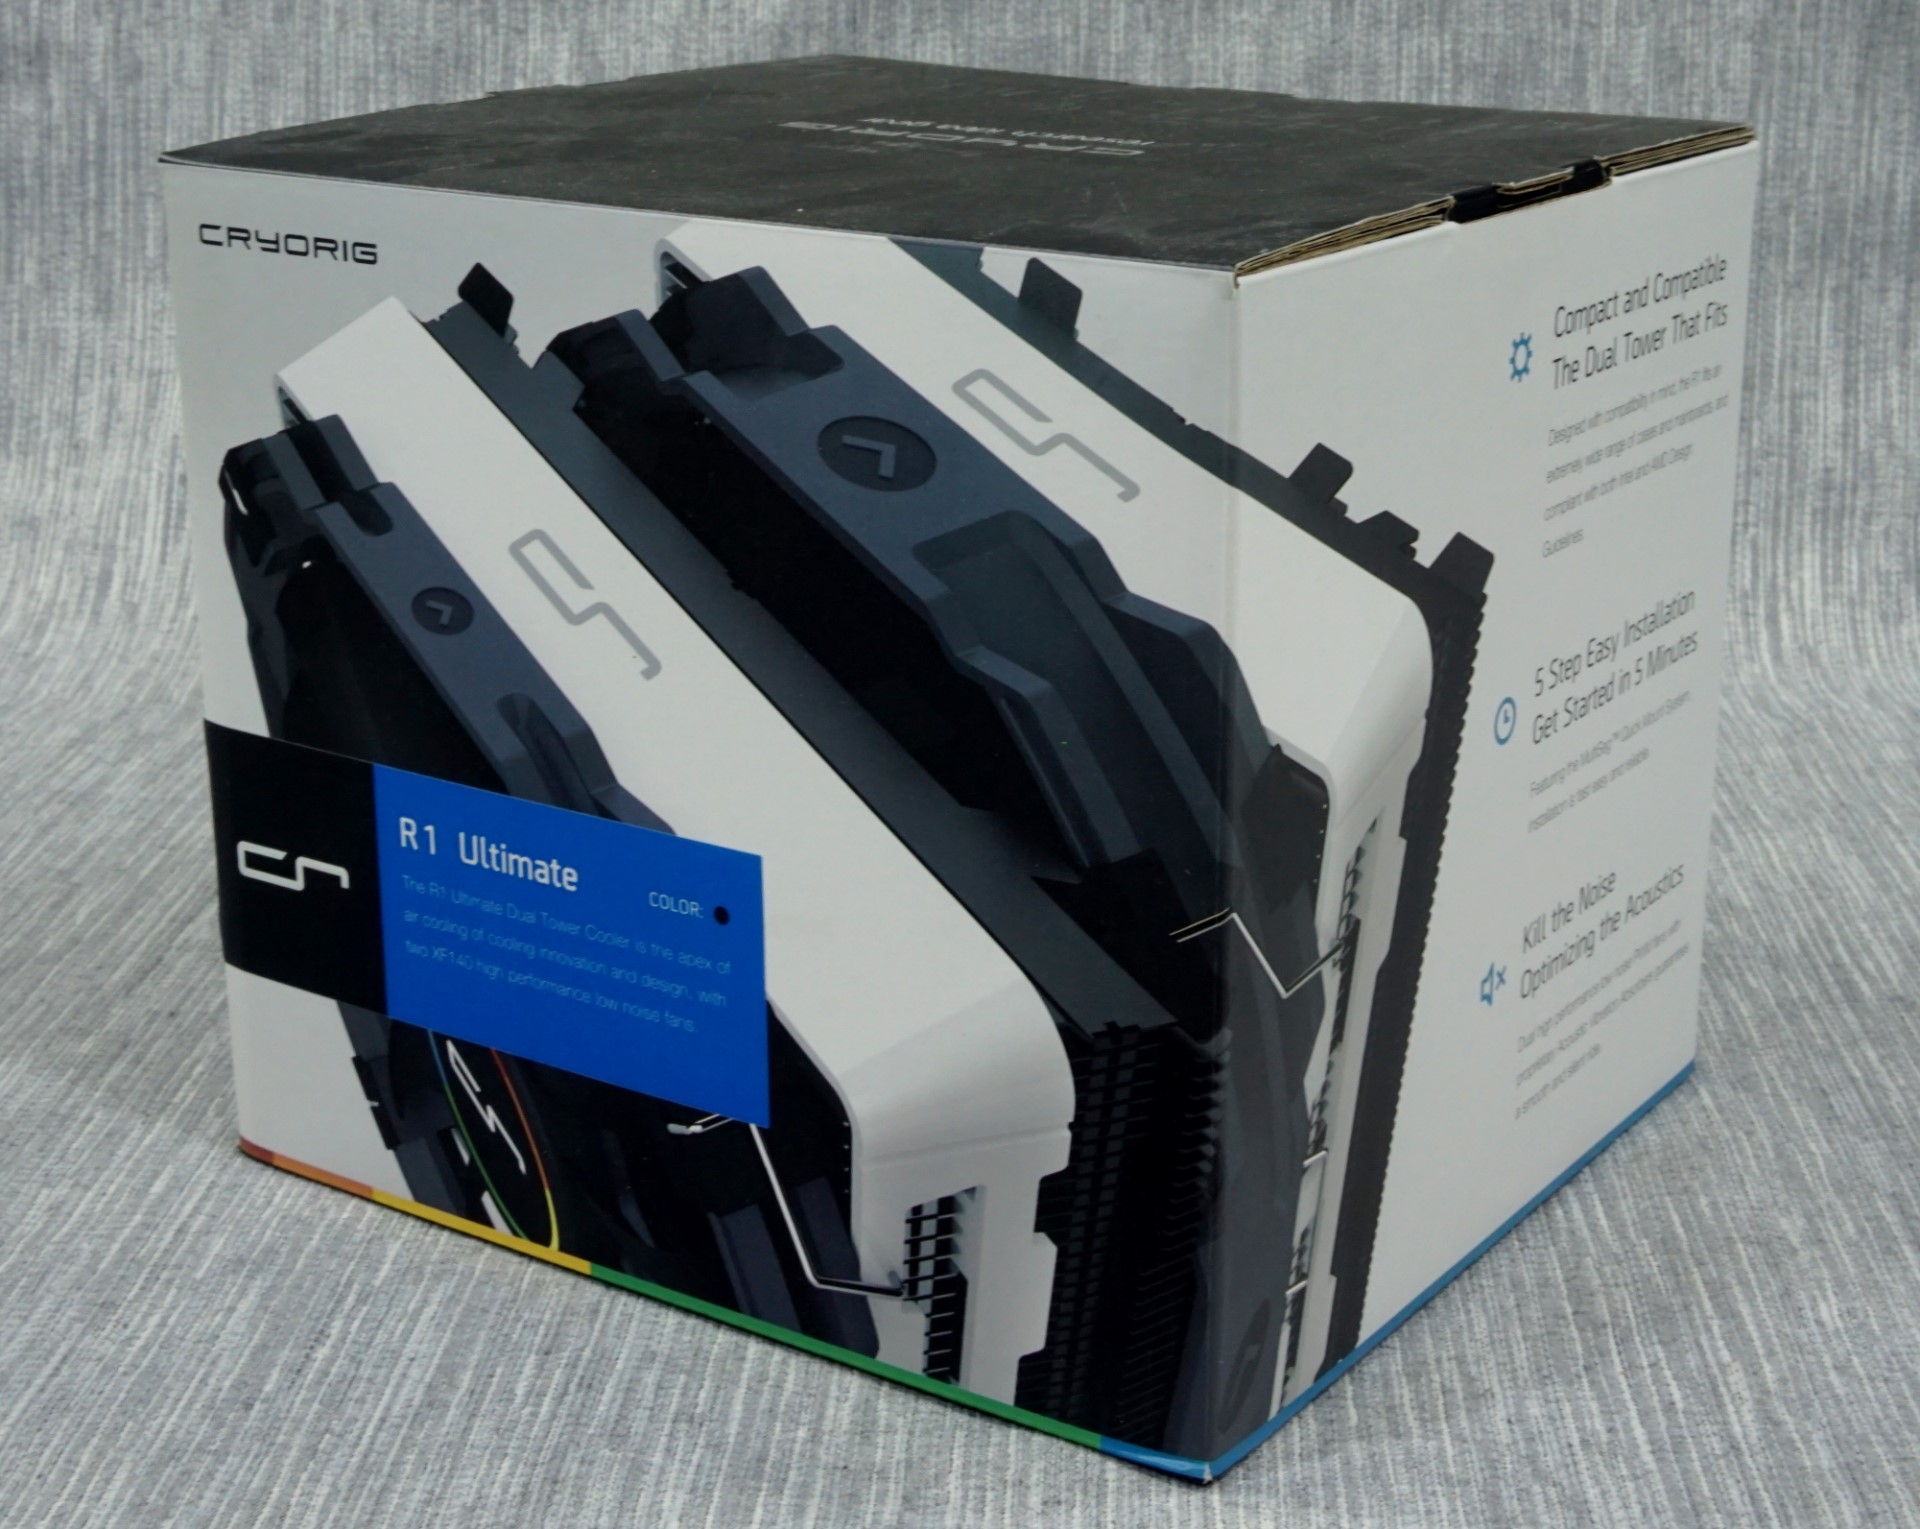
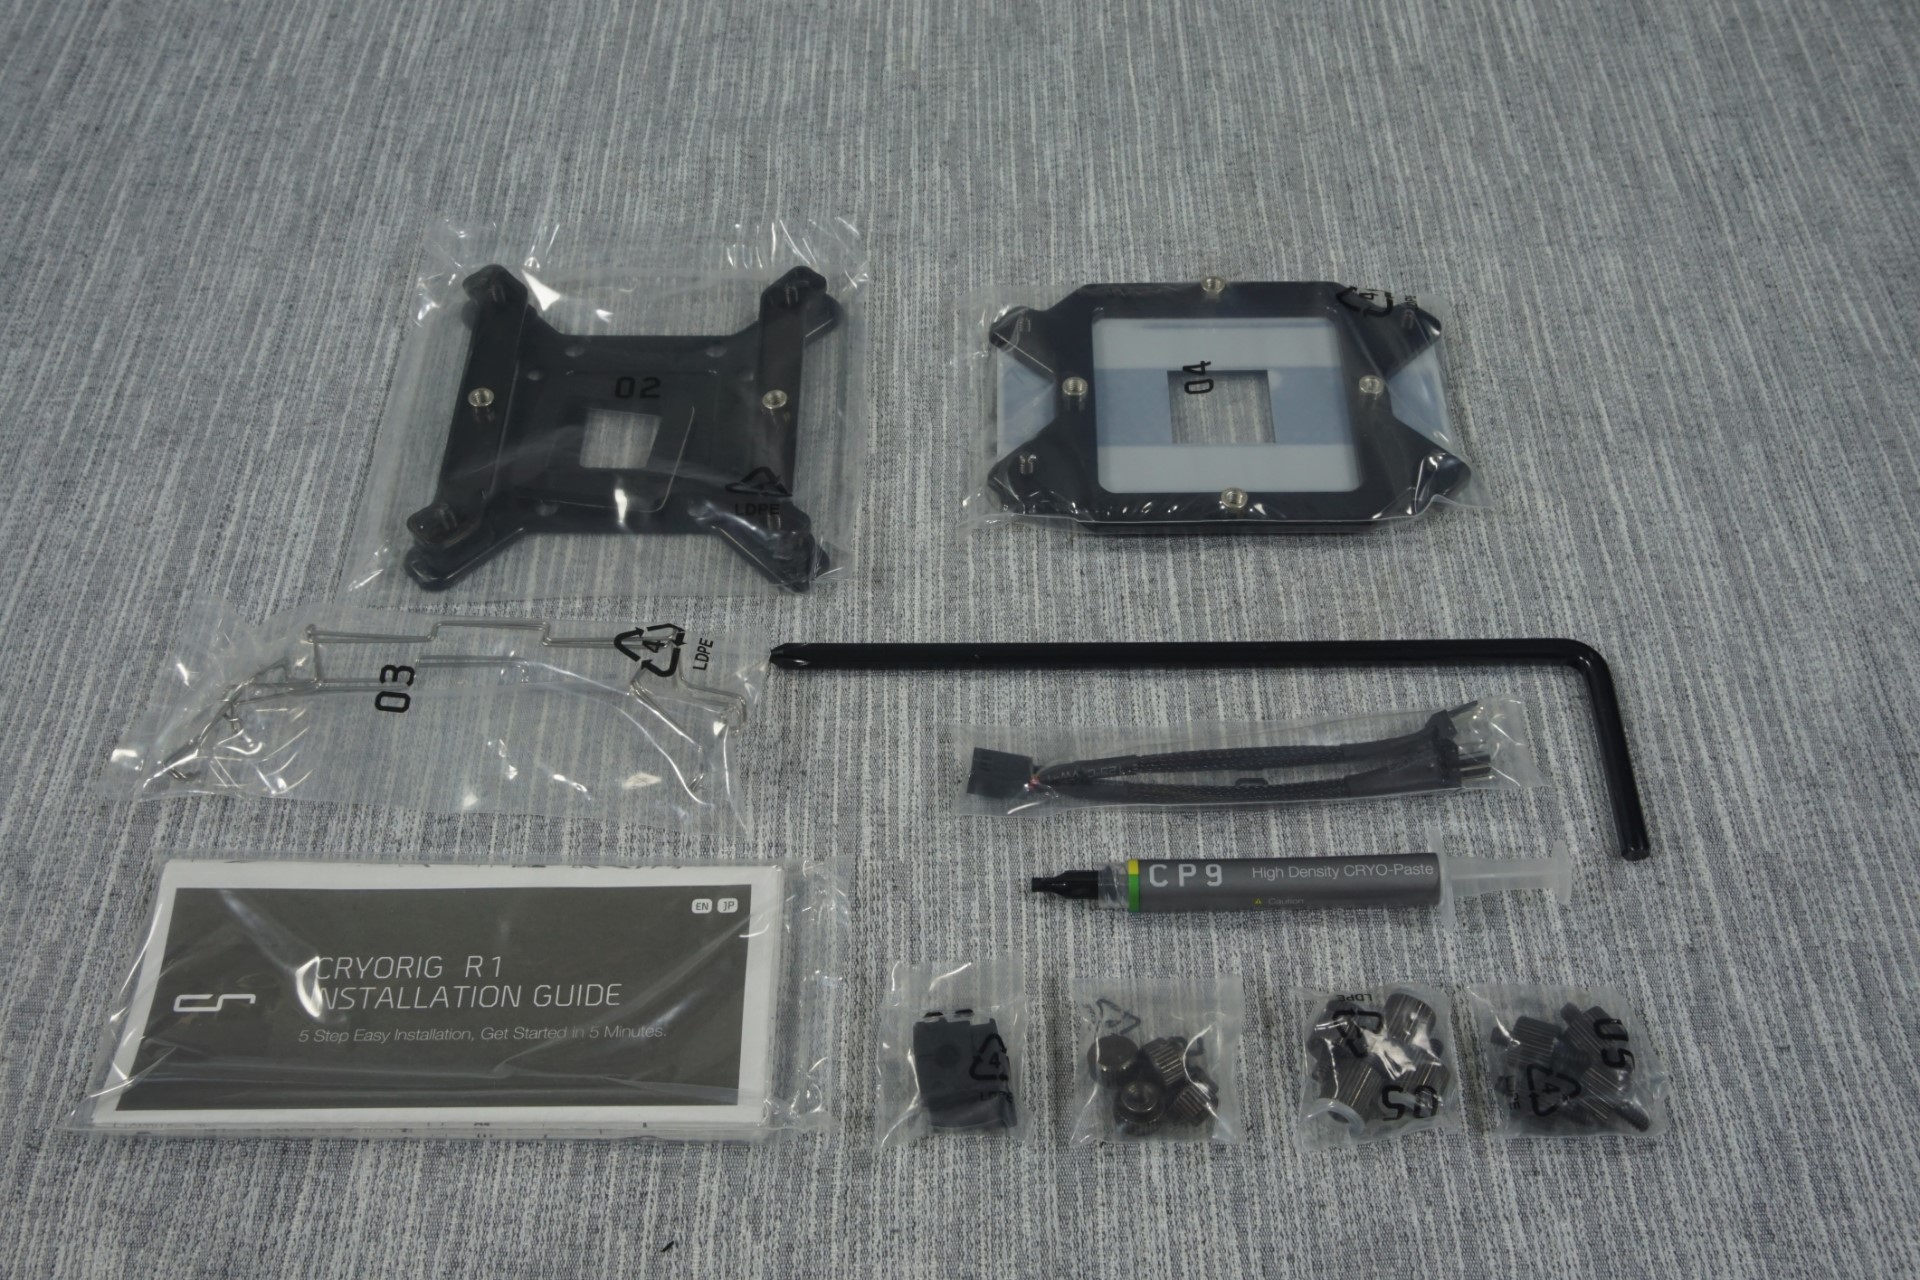
We received the R1 Ultimate well packed in a large cubic cardboard box. Everything inside the box is well packed and the bundle is well presented. Cryorig supplies the necessary hardware for the installation of the cooler, a tube of quality thermal grease and a long shank L screwdriver tool. The screwdriver tool is necessary for the installation of the cooler, unless if there is a >170 mm shank Philips PH2 screwdriver available. They also provide a third set of wire clips, for the installation of a third cooling fan.
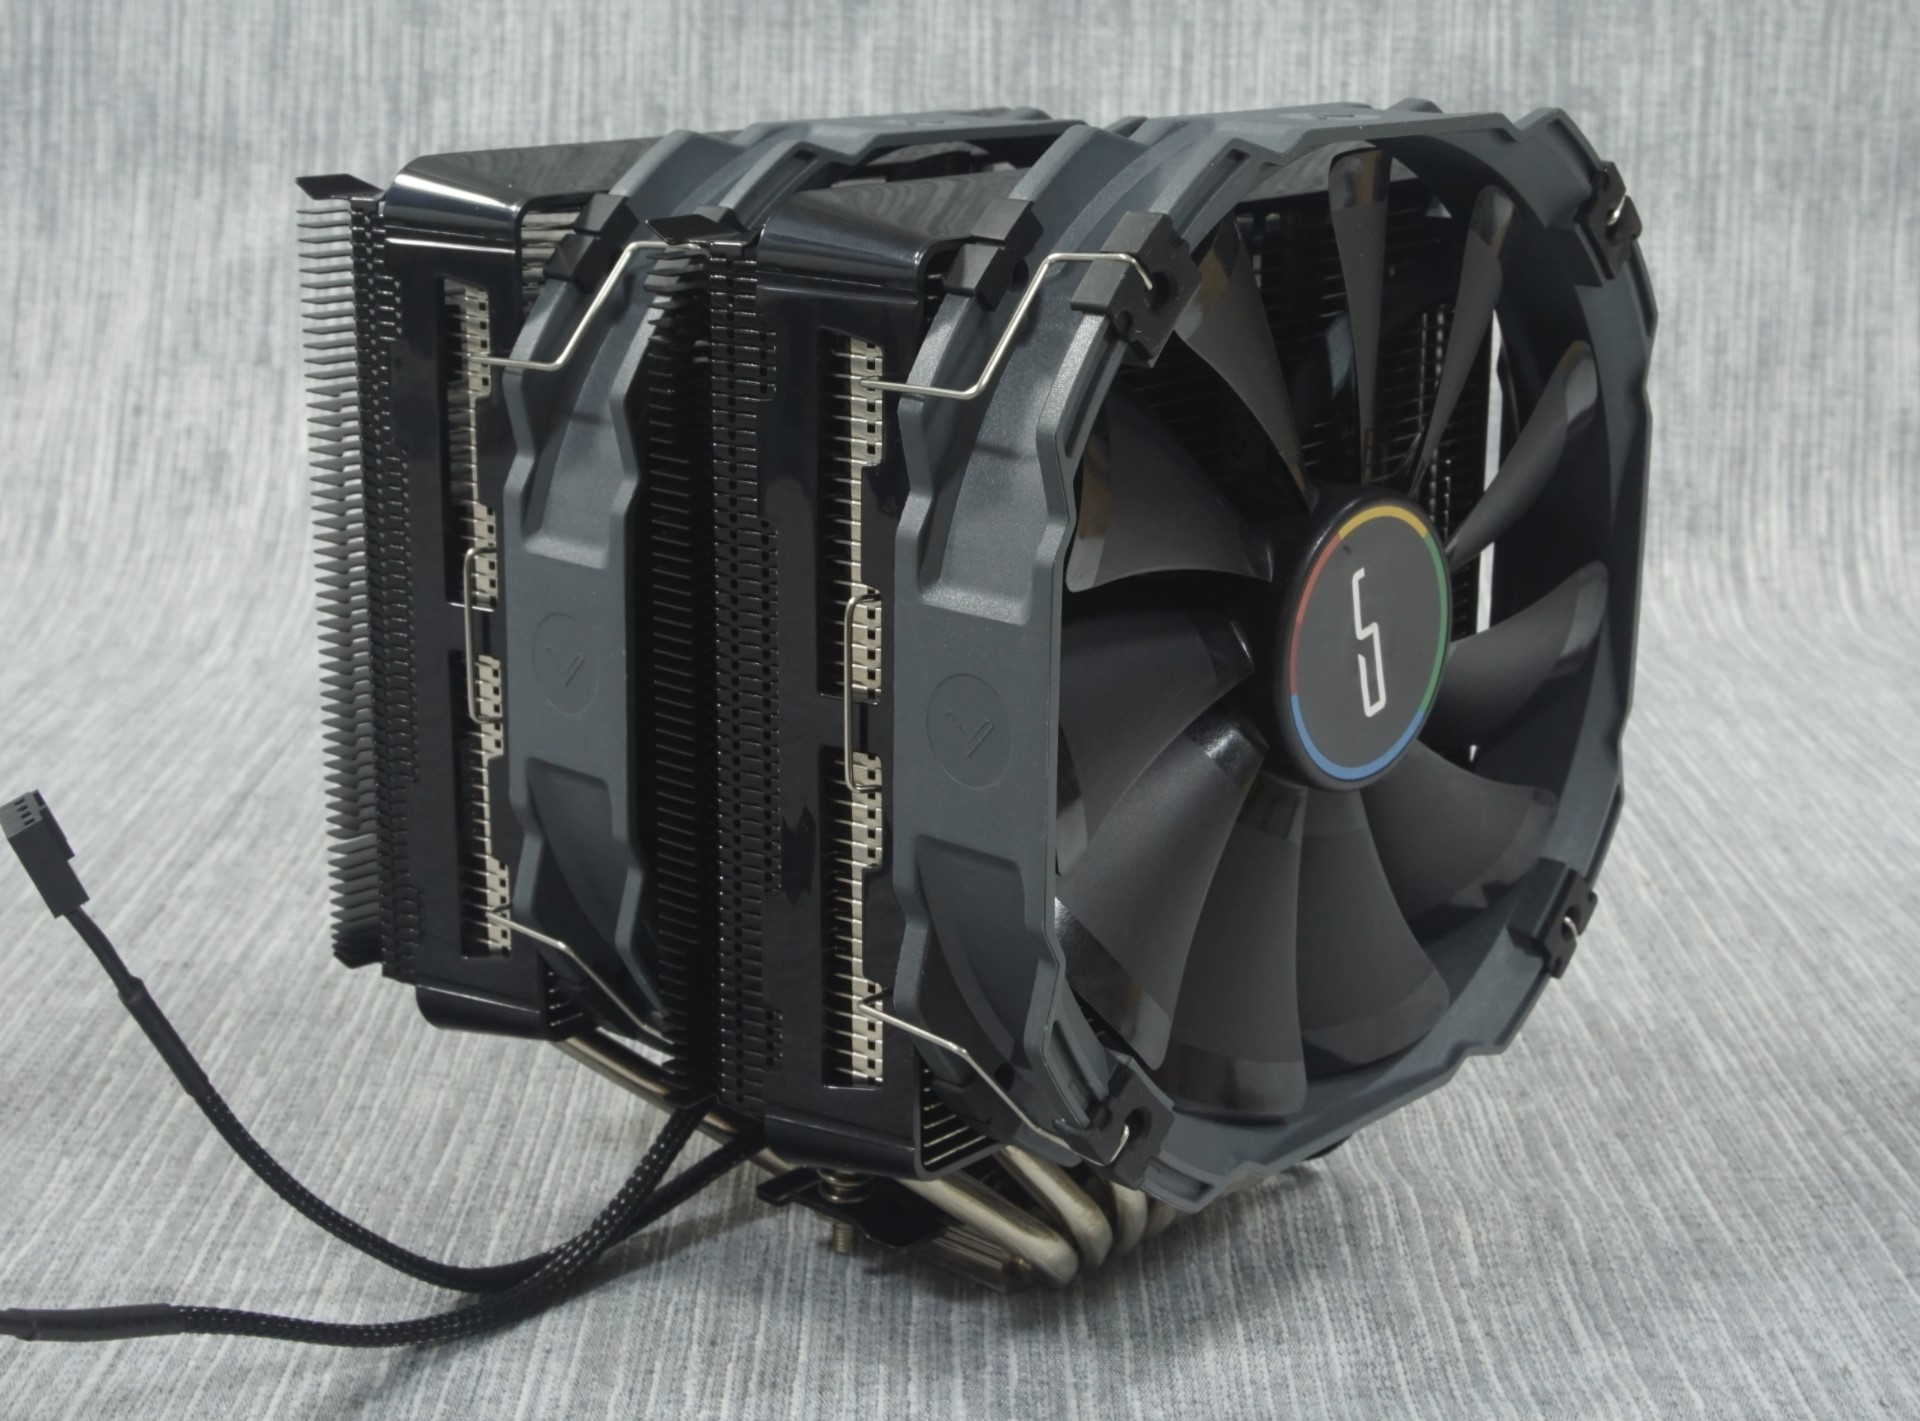
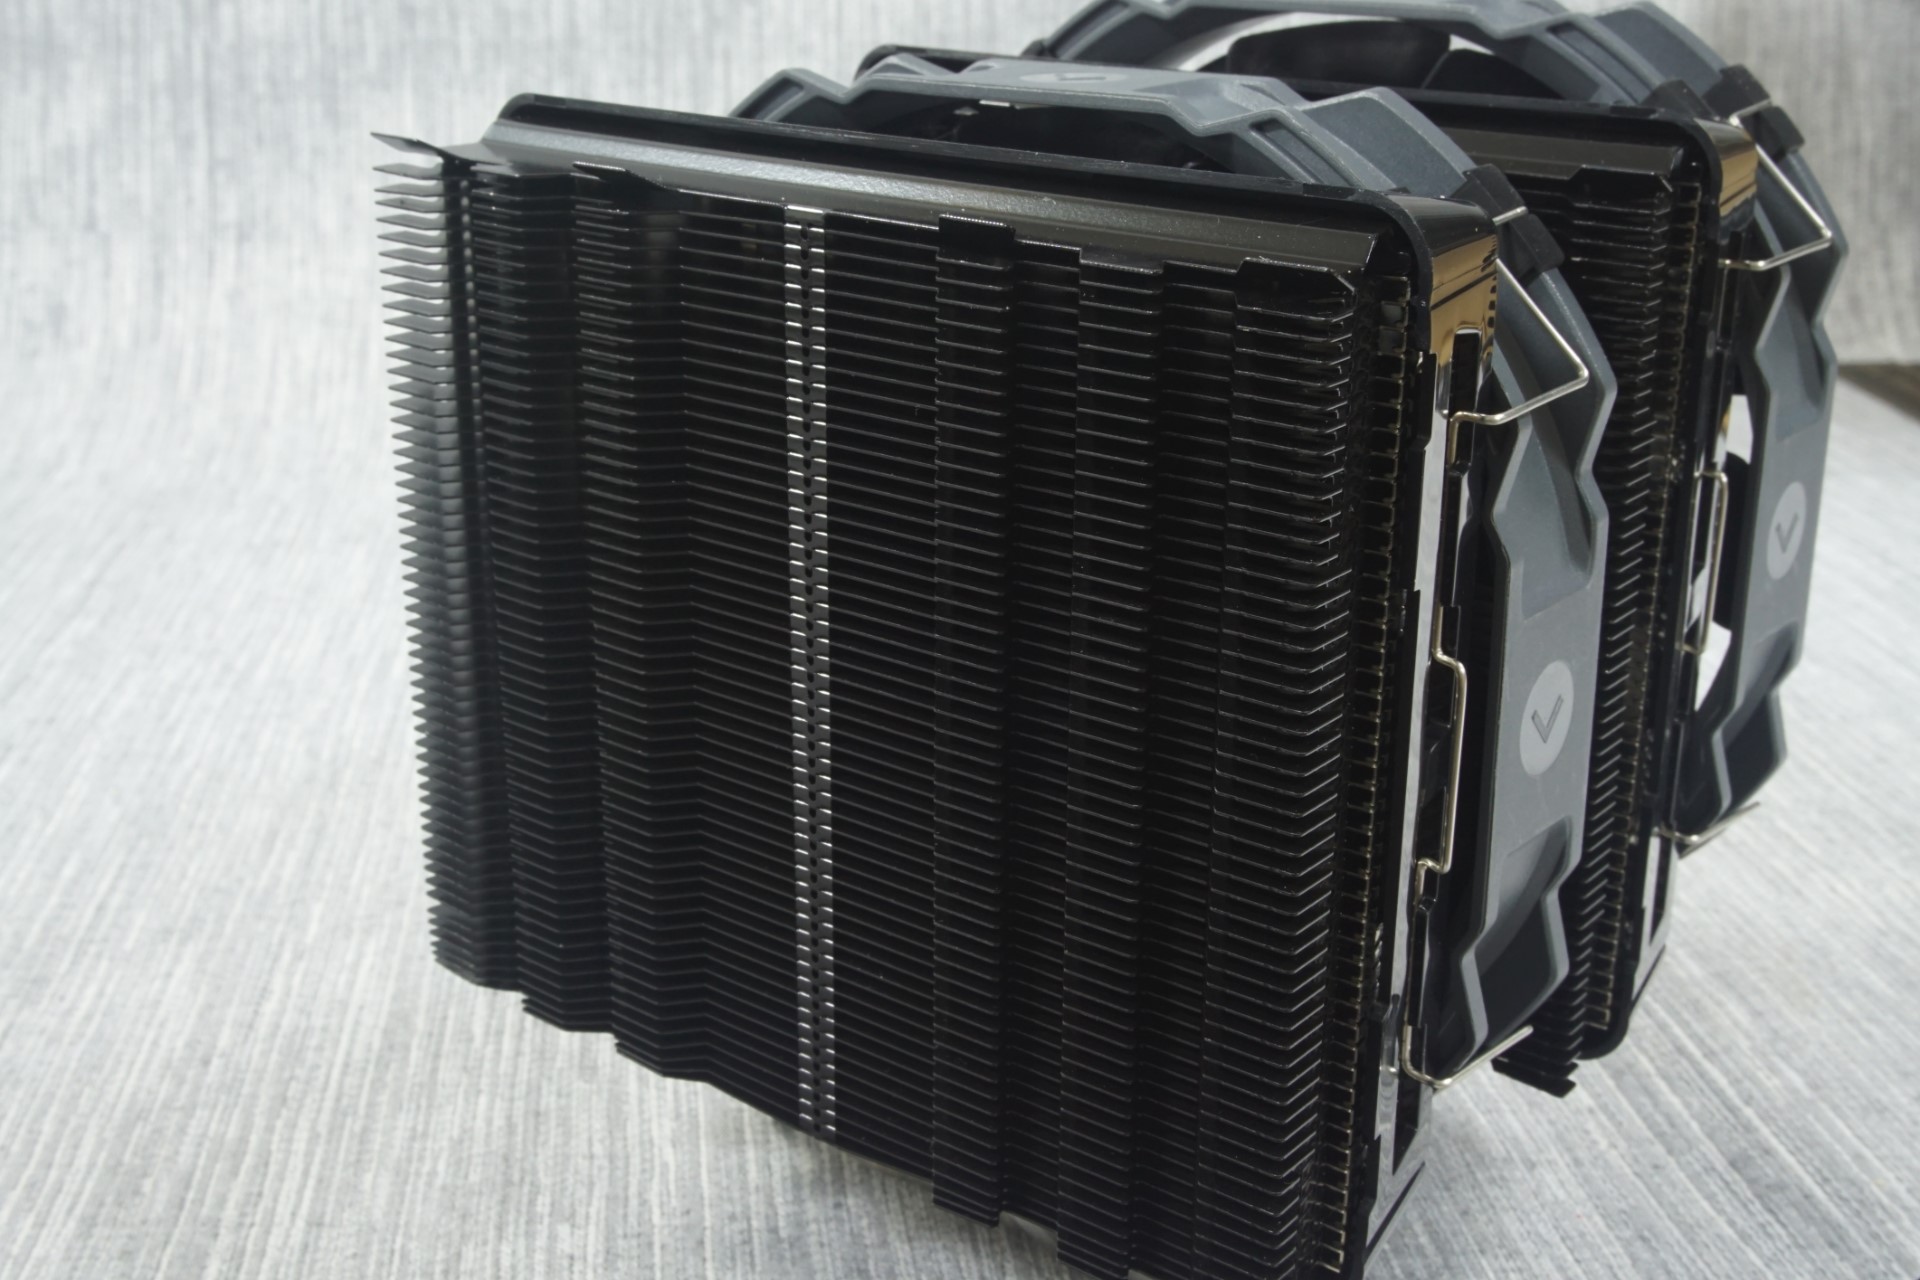
The Cryorig R1 Ultimate is a very large dual tower cooler. Plastic frames partially cover each tower and are used as supports for the two 140 mm cooling fans. The fans are preinstalled and removing them is not necessary for the installation of the cooler. Each of the two towers has two series of fins. The silver front half of each tower consists of 42 fins, the black rear half of 53 fins. The company claims that by reducing the spacing halfway across each tower, they can accelerate the air exhaust, forcing the hot air to exit the tower faster. It is a rather peculiar approach, as a uniform gap across the entire tower could achieve the same air backpressure/speed without the extra turbulence and noise that the transition will cause. Perhaps Cryorig's research showed that this approach somehow improves thermal performance, by either thinning the boundary layer or simply through higher turbulence flow.
No strange shapes or patterns here - the front of the towers is entirely straight, with Cryorig apparently thinking that trying to improve anything by shaping the intake side of the fins is a waste of resources. The rear of the fins forms a simple geometric pattern, not just to improve the aesthetics of the cooler but also to provide insertion points for the provided screwdriver, which needs to be inserted in the gaps between the center fan and the fins for the installation of the cooler.
Cryorig is using two 140 mm fans, rebranded to their own company logo. They appear to be the same as the XF140 fans that the company retails as well. Aside from the "high precision low noise" bearing that the specifications vaguely describe, not much can be found about the fans, other than that they have a maximum speed of 1300 RPM. According to the specifications of the R1 Ultimate, they are also rated at 23 dB(A). This however is a little misleading, as this is the rating of a single fan in standard test conditions (unrestricted) within an anechoic chamber, not of two fans installed on the cooler itself.

The copper base and heatpipes of the R1 Ultimate have been nickel plated to prevent oxidization, a common upgrade for high-end products. The contact surface is very smooth but not polished down to a perfect mirror finish. In order to save a little room and install a seventh heatpipe, Cryorig placed the seven heatpipes in a slight convex formation.


135 Comments
View All Comments
Peichen - Monday, July 6, 2015 - link
I expect many R9 Fury X users are shopping for large air-cooler now as they have to give up their AIO CPU-cooler to Fury.BTW, I really wish you added a Hyper 212X as reference.
meacupla - Monday, July 6, 2015 - link
You could just buy a case like the Fractal Design Define S, which could fit two separate 120mm CLLC in the front, allowing both to get fresh air.Flunk - Monday, July 6, 2015 - link
I'm a bit disappointed that you didn't comment on the install process on any of the heatsinks. I recently bought a Dark Rock Pro 3 and while I love how quiet it is and the temps are actually lower than the Corsair Hydro H80 it replaced, the install process requires you to screw the heatsink in from the back of the motherboard. That and the size of the supplied backplate made the heatsink install more difficult that is really necessary.If you buy a Dark Rock 3 Pro I recommend removing the motherboard from the case entirely and installing it by flipping the heatsink upside down and balancing the motherboard on top of it in the correct position. This makes it fairly easy to screw in. But if you are using a normal thermal paste you might need to put it on the heatsink instead of the CPU heatspreader. I use IC Diamond and that stuff is so thick that it just stuck there upside down for long enough to finish mounting the thing.
meacupla - Monday, July 6, 2015 - link
Yeah, this is actually quite important. Noctua's mounting brackets are, by far, one of the easiest to work with.'nar - Tuesday, July 7, 2015 - link
I never gave it much thought. Installation is such a small concern to me, maybe I do this more than most, price and performance are preferable. That said, I still think Noctua's mounting can be improved, it seems unnecessarily complicated to me. First off, you really do need to replace the plastic bracket, there's no way around that. But secondly, why include a 140mm screw driver? Why not make the screws 140mm taller? Then you can just use a common screw driver, even a stubby or a pocket knife. And make them captive so they do not fall out and you do not need to line them up. These will certainly add to the cost due to extra engineering time and unique screws.Beany2013 - Wednesday, July 8, 2015 - link
Because the 140mm screwdriver:A: Is cheaper than re-engineering the entire product
B: long screws are *very* easy to cross-thread due to the extra sideways torque you can apply when inserting them.
I *do* like the Noctua setup system. It's strong, comprehensive, and lets be honest, you only do it once. I'm pretty sure that any gotchas with installation were caught in the descriptions of each cooler, too.
der - Monday, July 6, 2015 - link
WOOOO!golemB - Monday, July 6, 2015 - link
For the Macho Zero especially, I'd want to see the tests conducted (additionally) in a vertical motherboard orientation (as you'd have in most tower cases), since convection may have an effect on performance. It may also reveal differences in fan noise due to bearings rubbing more or less on different surfaces.'nar - Tuesday, July 7, 2015 - link
Not likely. Convection is slow. Any fans will blow away convection currents. Besides, orientation is strictly a "case by case" basis and beyond the scope of an empirical HSF comparison.Fan noise due to orientation may be good to check for though. I doubt it will be any different, if it is, the aberration should be noted.
flashbacck - Monday, July 6, 2015 - link
wow, cpu cooler roundup! It seems so rare to see these nowadays.